Multi-line text field with SwiftUI on macOS
The latest SwiftUI 2 at the time of this writing has native support for multi-line text areas. This feature is bound to macOS 11.0+ (Big Sur).
I’ve recently needed this with the following requirements:
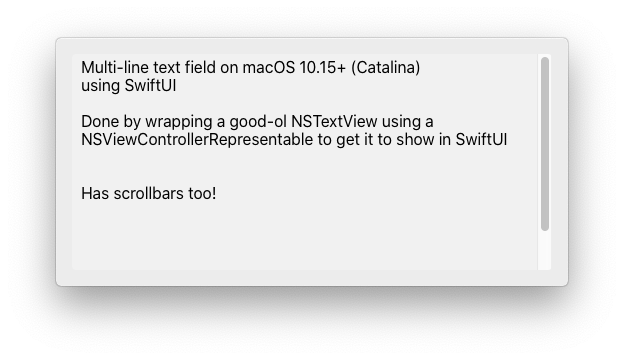
- works on macOS 10.15+ (Catalina)
- uses SwiftUI
As a result of the OS version requirement we’re using the old AppDelegate for life cycle of the app instead of going full SwiftUI.
Begin by creating a new mac project in XCode and select SwiftUI for “Interface” and AppKit App Delegate for the “Life Cycle”.
Next up create a new file, I’ve named mine MultilineTextEditor.swift and place the following code inside it:
import SwiftUI

// MARK: - View
struct MultilineTextEditorView: NSViewControllerRepresentable {
    @Binding var text: String

    func makeNSViewController(context: Context) -> NSViewController {
        let vc = MultilineTextEditorController()
        vc.textView.delegate = context.coordinator
        return vc
    }

    func updateNSViewController(_ nsViewController: NSViewController, context: Context) {
        guard let vc = nsViewController as? MultilineTextEditorController else { return }

        if text != vc.textView.string {
            vc.textView.string = text
        }
    }
}

// MARK: - Coordinator
extension MultilineTextEditorView {

    func makeCoordinator() -> Coordinator {
        return Coordinator(self)
    }

    class Coordinator: NSObject, NSTextViewDelegate {
        var parent: MultilineTextEditorView
        var selectedRanges: [NSValue] = []

        init(_ parent: MultilineTextEditorView) {
            self.parent = parent
        }

        func textDidBeginEditing(_ notification: Notification) {
            guard let textView = notification.object as? NSTextView else { return }

            self.parent.text = textView.string
        }

        func textDidChange(_ notification: Notification) {
            guard let textView = notification.object as? NSTextView else { return }

            self.parent.text = textView.string
            self.selectedRanges = textView.selectedRanges
        }

        func textDidEndEditing(_ notification: Notification) {
            guard let textView = notification.object as? NSTextView else { return }

            self.parent.text = textView.string
        }
    }
}

// MARK: - Controller
fileprivate final class MultilineTextEditorController: NSViewController {
    var textView = NSTextView()

    override func loadView() {
        let scrollView = NSScrollView()

        // - ScrollView
        scrollView.documentView = textView
        scrollView.hasVerticalScroller = true
        scrollView.hasHorizontalScroller = false
        scrollView.autohidesScrollers = true
        scrollView.drawsBackground = false

        // Corner radius on scrollView (clips underlying textView)
        scrollView.wantsLayer = true
        scrollView.layer?.cornerRadius = 4.0

        // - TextView
        textView.autoresizingMask = [.width]
        textView.allowsUndo = true
        textView.font = .systemFont(ofSize: 16)

        // Background and reposition insets so they don't get clipped by scrollView cornerRadius
        textView.backgroundColor = NSColor.textBackgroundColor.withAlphaComponent(0.25)
        textView.textContainerInset = NSSize(width: 4, height: 4)

        self.view = scrollView
    }

    override func viewDidAppear() {
        self.view.window?.makeFirstResponder(self.view)
    }
}
This sets up a NSTextView that can be included in SwiftUI. The Coordinator manages communication between SwiftUI and acts as delegate for the text view. I’ve done some modifications to the look of the underlying scrollView and textView. You can remove/style them to your own needs.
Now that we have this set up you can use the view inside SwiftUI like any other:
struct ContentView: View {
  @State private var myText: String = ""

  var body: some View {
    Text("Below is the fancy editor!")

    MultilineTextEditorView(text: $myText)

    Text("The following was written in the input: \(myText)")
  }
}
As you can see we can even make use of @State etc. to keep everything in sync!