Create a Spotlight/Alfred like window on macOS with SwiftUI
Let’s have a look into how to create a window similar to how Spotlight or Alfred looks.

I needed this recently with two requirements:
- works on macOS 10.15+ (Catalina)
- uses SwiftUI
As a result of the OS version requirement we’re using the old AppDelegate for life cycle of the app instead of going full SwiftUI.
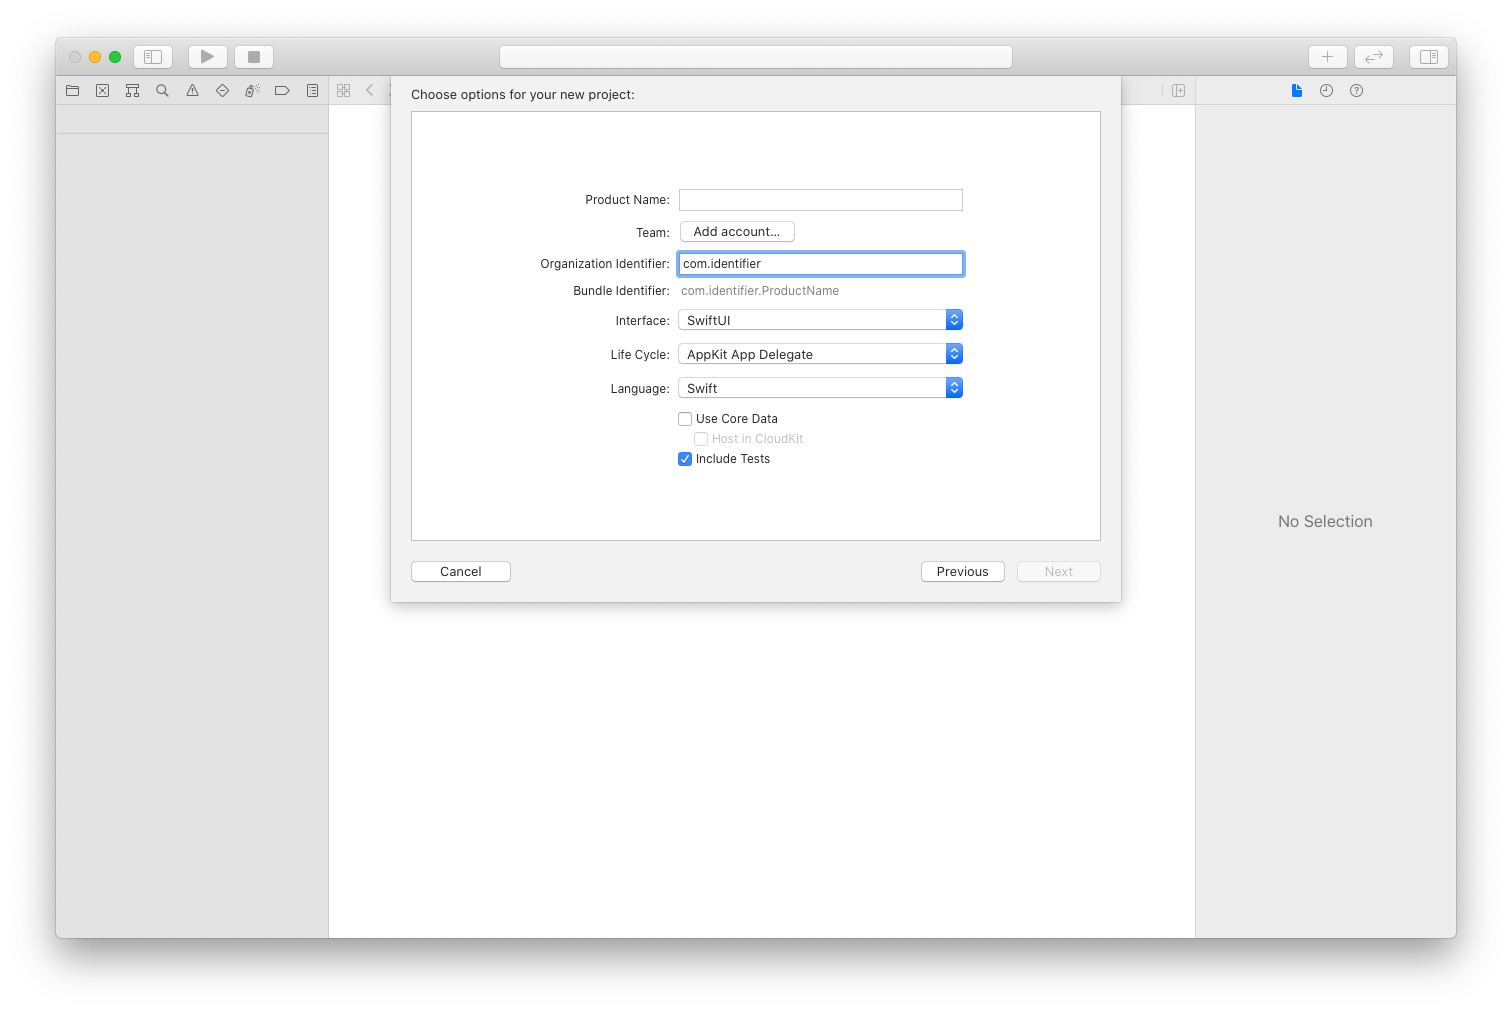
Begin by creating a new mac project in XCode and select SwiftUI for “Interface” and AppKit App Delegate for the “Life Cycle”.
Next up lets create a subclass of NSPanel called FloatingPanel. Unlike the default NSWindow NSPanels are suited to float above other windows. I’ve opted to create the FloatingPanel class right inside my AppDelegate.swift file, but you can put the code in a separate file if you want to. It is important to set the .nonactivatingPanel styleMask. See comments in the following code for more details.
// MARK: - Floating Panel

class FloatingPanel: NSPanel {
  init(contentRect: NSRect, backing: NSWindow.BackingStoreType, defer flag: Bool) {

  // Not sure if .titled does affect anything here. Kept it because I think it might help with accessibility but I did not test that.
  super.init(contentRect: contentRect, styleMask: [.nonactivatingPanel, .titled, .resizable, .closable, .fullSizeContentView], backing: backing, defer: flag)

  // Set this if you want the panel to remember its size/position
  //        self.setFrameAutosaveName("a unique name")

  // Allow the pannel to be on top of almost all other windows
  self.isFloatingPanel = true
  self.level = .floating

  // Allow the pannel to appear in a fullscreen space
  self.collectionBehavior.insert(.fullScreenAuxiliary)

  // While we may set a title for the window, don't show it
  self.titleVisibility = .hidden
  self.titlebarAppearsTransparent = true

  // Since there is no titlebar make the window moveable by click-dragging on the background
  self.isMovableByWindowBackground = true

  // Keep the panel around after closing since I expect the user to open/close it often
  self.isReleasedWhenClosed = false

  // Activate this if you want the window to hide once it is no longer focused
  //        self.hidesOnDeactivate = true

  // Hide the traffic icons (standard close, minimize, maximize buttons)
    self.standardWindowButton(.closeButton)?.isHidden = true
    self.standardWindowButton(.miniaturizeButton)?.isHidden = true
    self.standardWindowButton(.zoomButton)?.isHidden = true
  }

  // `canBecomeKey` and `canBecomeMain` are required so that text inputs inside the panel can receive focus
  override var canBecomeKey: Bool {
    return true
  }

  override var canBecomeMain: Bool {
    return true
  }
}
And thats it. Now you can create a window that floats above all others. For example like this in your AppDelegate.swift:
class AppDelegate: NSObject, NSApplicationDelegate {

  var newEntryPanel: FloatingPanel!

  func applicationDidFinishLaunching(_ aNotification: Notification) {
      createFloatingPanel()

      // Center doesn't place it in the absolute center, see the documentation for more details
      newEntryPanel.center()

      // Shows the panel and makes it active
      newEntryPanel.orderFront(nil)
      newEntryPanel.makeKey()
  }

  func applicationWillTerminate(_ aNotification: Notification) {
      // Insert code here to tear down your application
  }

  private func createFloatingPanel() {
      // Create the SwiftUI view that provides the window contents.
      // I've opted to ignore top safe area as well, since we're hiding the traffic icons
      let contentView = ContentView()
          .edgesIgnoringSafeArea(.top)

      // Create the window and set the content view.
      newEntryPanel = FloatingPanel(contentRect: NSRect(x: 0, y: 0, width: 512, height: 80), backing: .buffered, defer: false)

      newEntryPanel.title = "Floating Panel Title"
      newEntryPanel.contentView = NSHostingView(rootView: contentView)
  }
}
From here on you can place whatever you want inside it via SwiftUI by editing ContentView.swift to your liking.
If you want to show/hide this panel using a global keyboard shortcut like Spotlight or Alfred do, check out my global shortcut post.
Hint: newEntryPanel.orderOut(nil) (or .close() depending on use-case) removes the panel again from view.